-
E-mail
1151233686@qq.com
-
Phone
18920264562
-
Address
Northwest side of the intersection of Kaiyuan Road and Kai'an Road in Zhongbei Town, Xiqing District, Tianjin City
Product Categories
Tianjin Kean Instrument Technology Co., Ltd
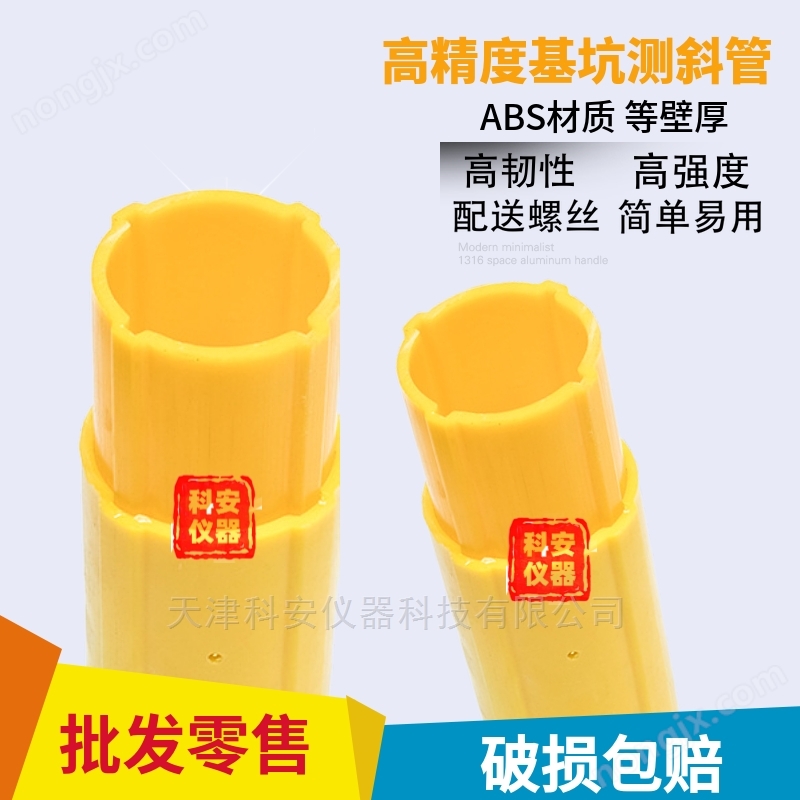


70mm foundation pit inclinometer pipe
NegotiableUpdate on 01/18
- Model
- Nature of the Manufacturer
- Producers
- Product Category
- Place of Origin
Overview
There are 90 ° spaced guide slots inside the ABS and other wall thickness inclinometer tubes for the inclinometer probe to be oriented, ensuring the accuracy and stability of the inclinometer probe measurement inside the tube. The joints between pipes are connected through concave convex grooves and fixed with self tapping screws, which are tightly connected and easy to install
Product Details

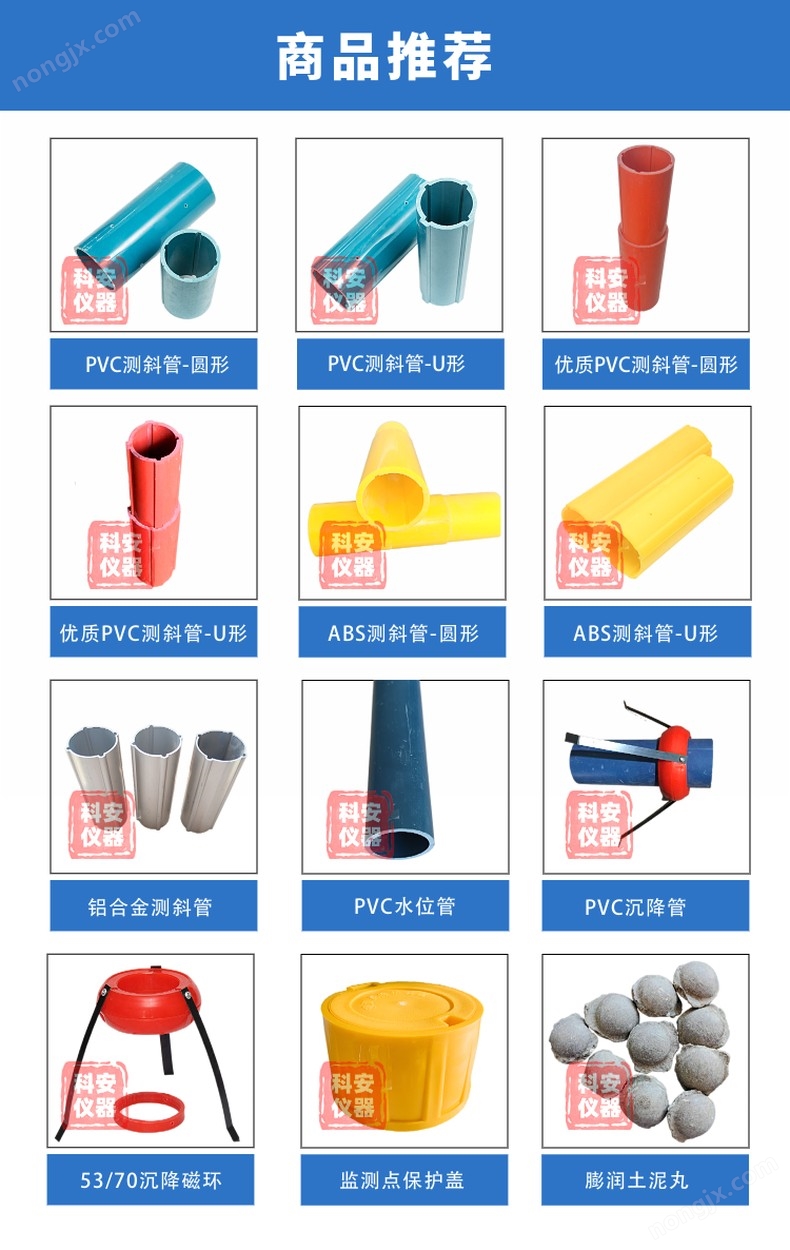
ABS and other wall thickness inclinometer tubesAcceptance and storage:
When the user receives and inspects the goods, they should first check whether the quantity of pipes matches the list. If there are any discrepancies, they should contact our factory.
The pipes should be stored in a room with a humidity of less than 85%, free from corrosive gases, in a dry, ventilated environment, and handled with care during transportation.
When the pipe is temporarily not in use,needOpen the packaging and lay each piece flat layer by layer at the staggered joint to prevent bending and deformation.
ABS and other wall thickness inclinometer tubesBurial and installation:
Drilling: An engineering drilling machine is used, usually with a diameter of 108cm drill bit. In order to smoothly install the pipe in place, it is generally necessary to drill deeper than the installation depth. The principle is to drill every 10 meters to a depth of 0.5 meters, that is, 10 meters+0.5 meters=10.5 meters, 20 meters+1 meter=21 meters, and so on.
Hole cleaning: After the drill bit reaches the predetermined position, do not immediately lift the drill bit. Instead, connect the pump to clean water and pour it down until the mud water turns into clear mixed water. After lifting the drill bit, install it immediately.
Installation: The entire installation process can be divided into three steps
Connection of pipes: The pipes manufactured by our factory generally have two lengths: 2 meters per pipe and 4 meters per pipe. The connection method is to use the insertion connection method. First, pick up a inclinometer pipe, put a bottom cover on the end without an external joint, and use three M4 × 10 self tapping screws to tighten it. (This is the lowest section of the pipe in each hole) Then the pipe can be inserted into the hole. Next, insert another section of the pipe into the external joint. At this time, it must be noted that it must be inserted until the pipe end plane is connected, and then fix it with three M4 × 10 self tapping screws before the joint is connected. Follow this method to continue connecting until the designed length.
Alignment direction: After the pipe is installed in place, it needs to be aligned before backfilling. The requirement for alignment direction is that there are two pairs of grooves on the inner wall of the pipe. First, the outer joint on the inclined pipe above the hole opening needs to be removed (by loosening the three screws to remove it) to see the grooves inside the pipe. The pair of grooves inside the pipe need to be perpendicular to the measuring surface. Rotate the pipe to achieve this. If one person cannot rotate it, multiple people can be used. Before rotation, lift the pipe upwards and then rotate it to align it. After alignment, press the pipe into place, and the direction will be adjusted correctly. Cover it with the cover and tighten the screws to backfill.
When backfilling into the hole, special attention should be paid to two points: to reduce its buoyancy when lowering the pipe, clear water (tap water, river water, etc.) can be filled into the pipe while lowering it, until it can be smoothly placed in place. Too much water should not be added, otherwise the pipe will quickly sink, making it difficult for people to grasp and fall into the hole, making it impossible to continue working. But after all the pipes (one hole) are lowered to the position, they must be filled with clean water to reduce the formation of sediment in the pipes due to mud entering.